Organisation and users
An organisation buys seats and gives them to the people who read. Each user takes one seat. The organisation’s administrator sees the seats and the users on the Users page, invites colleagues, and changes or removes a user.
Open Users
Copy link to “Open Users”- Choose your name or email address at the bottom of the sidebar, choose Settings, and choose Users. On a phone, first choose the menu button at the top right, as described in Open the settings in Settings.
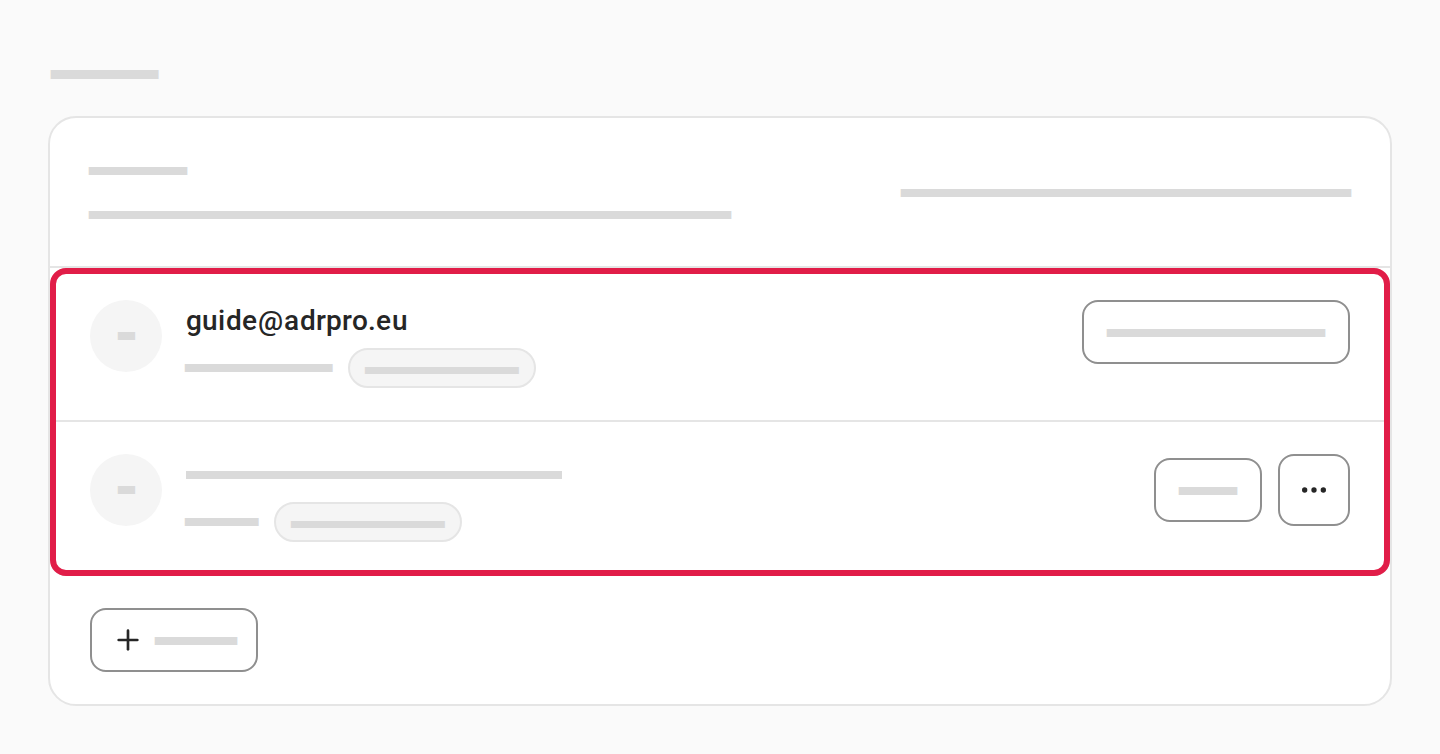
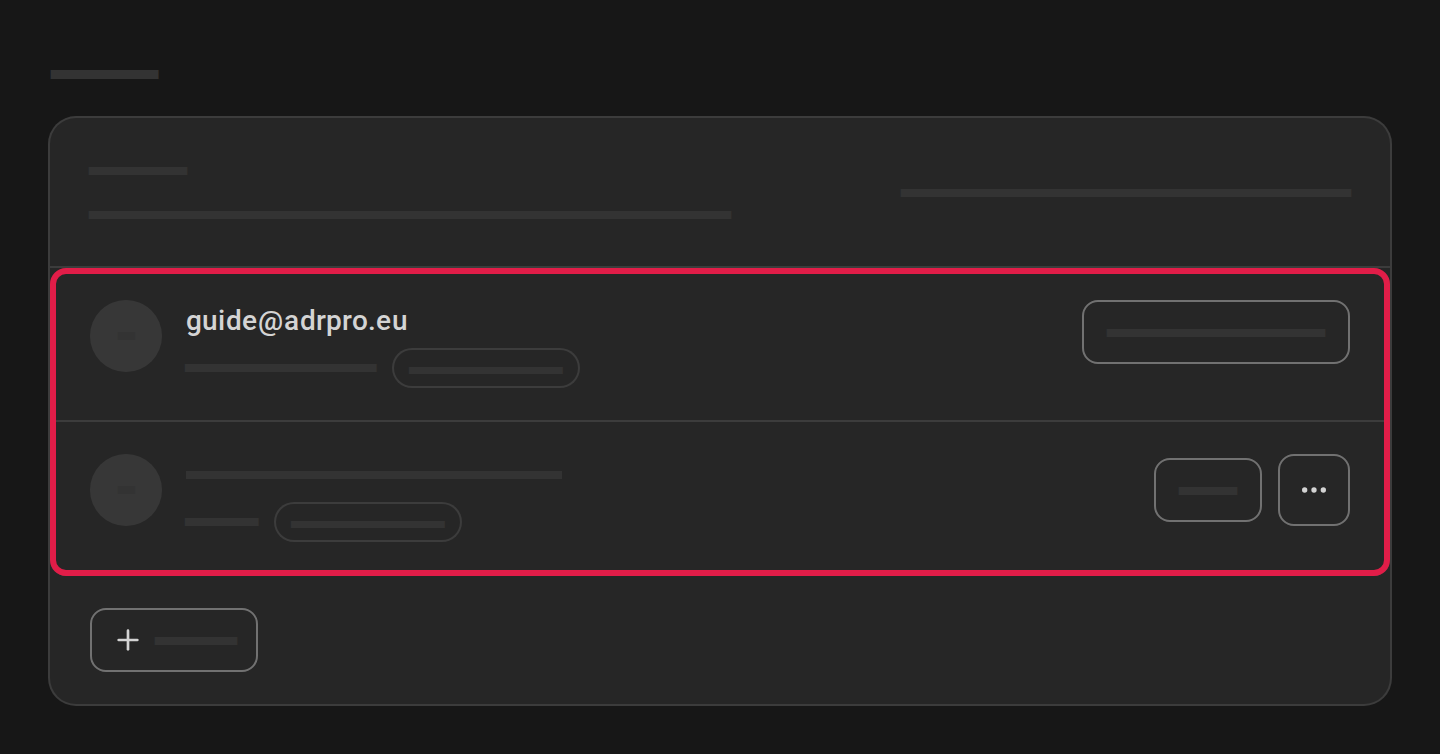
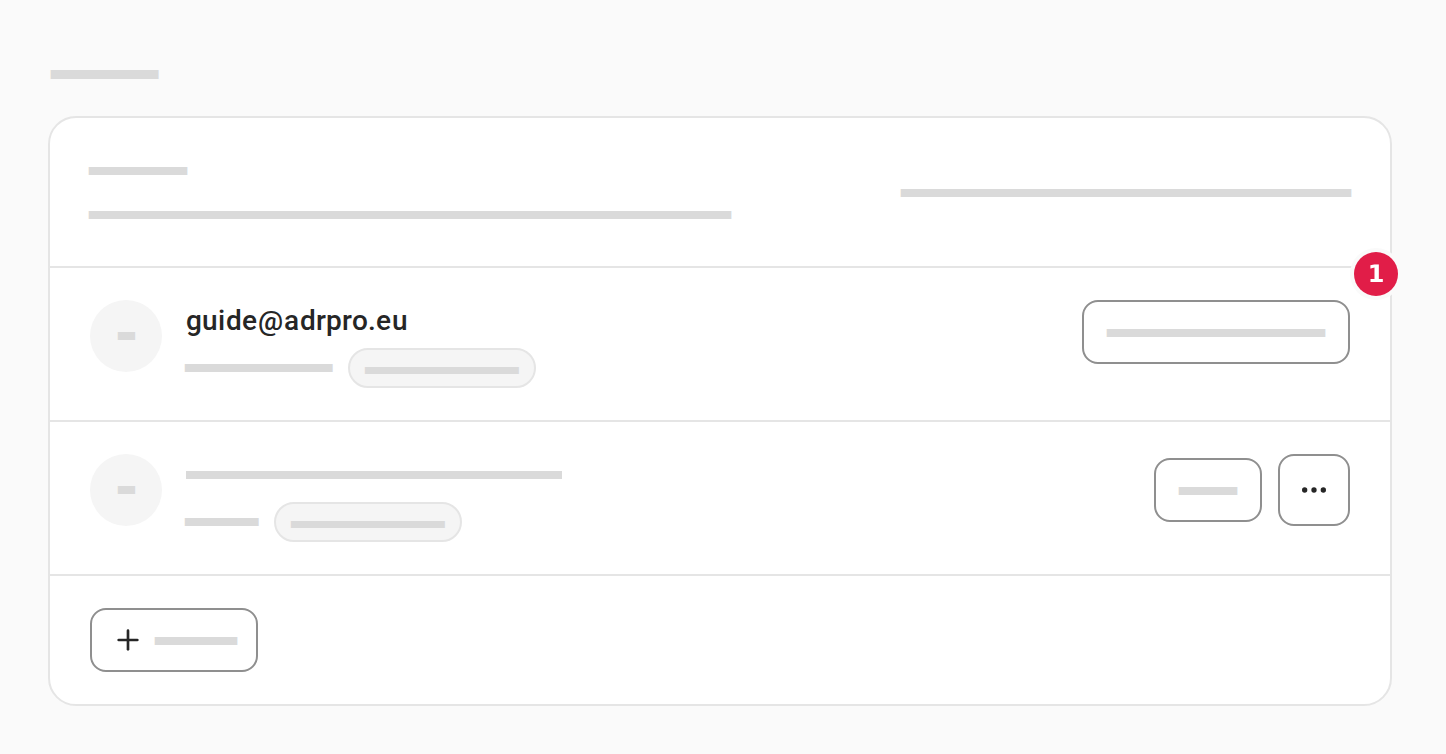
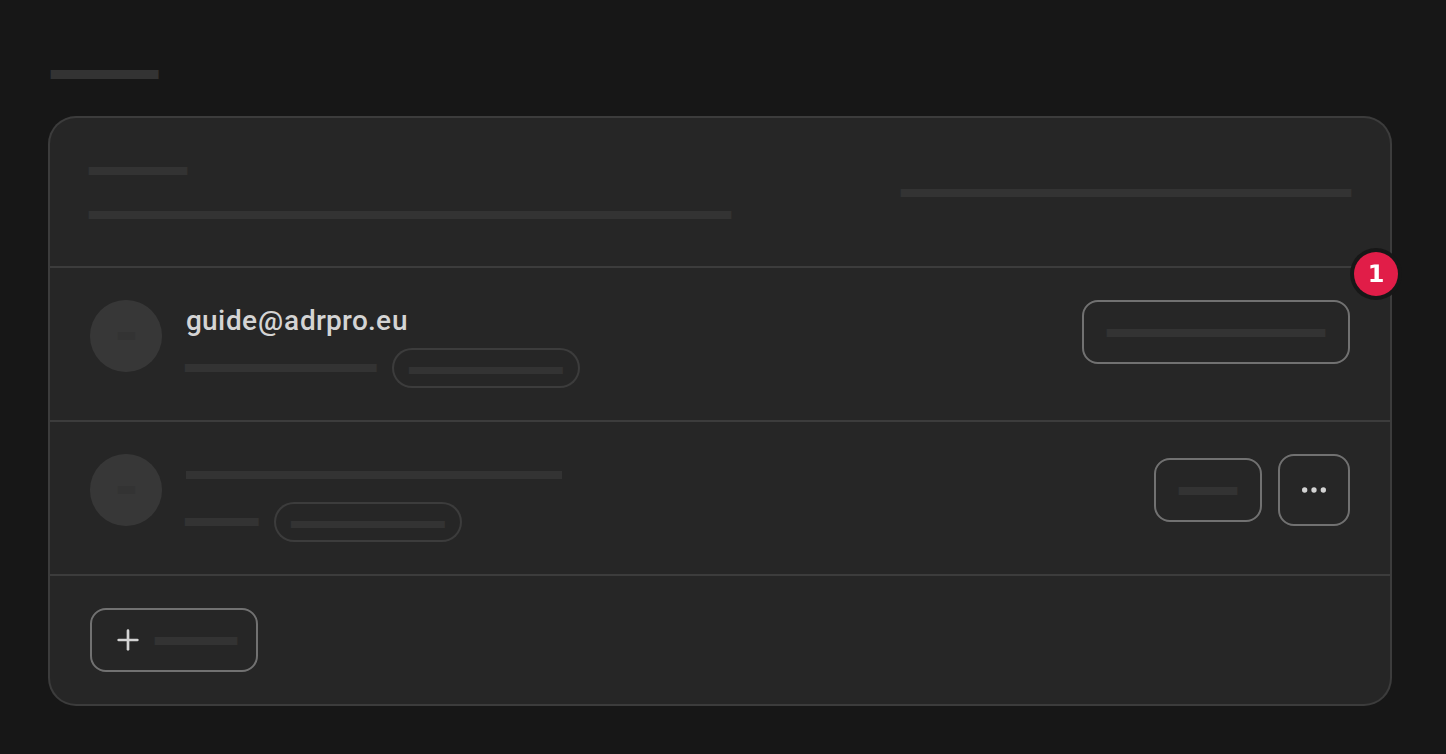
The list shows you and your users. You are listed as Administrator and your users as User, each with Has a seat or No seat. Invited colleagues are under Invited until they accept the invitation.
See the seats
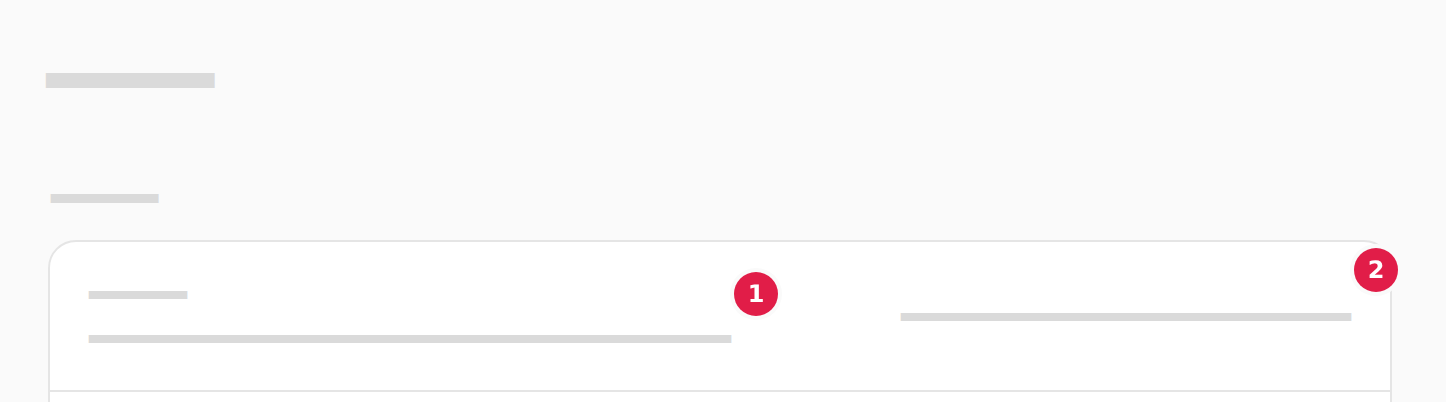
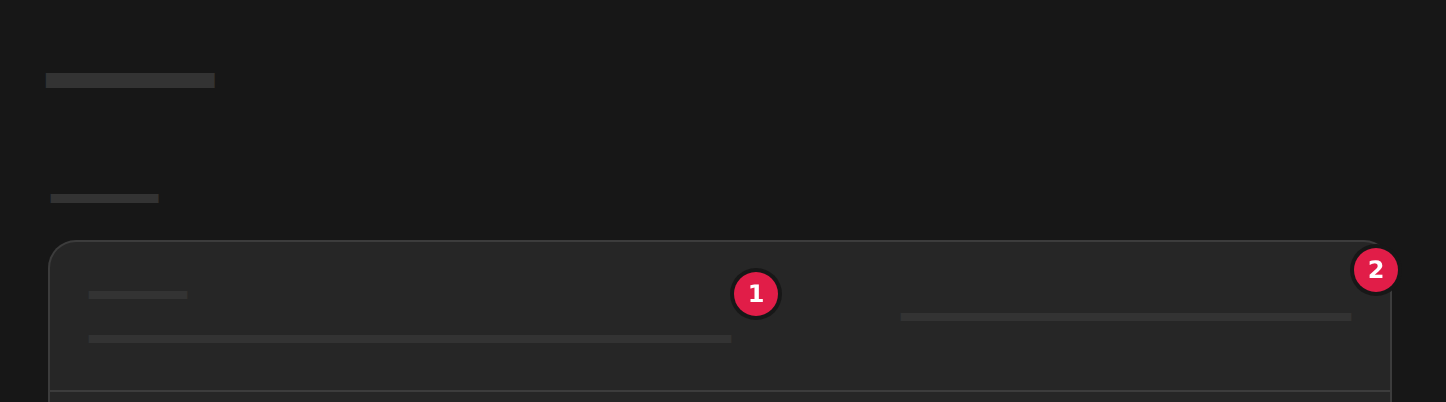
Copy link to “See the seats”At the top of the Users page is Seats (1): how many of the organisation’s seats are in use, out of how many, and whether you hold one of them yourself. If you hold no seat yourself, it says that the agreement is closed to you.
Choose Change seat count on Billing (2) to go to the Billing page, where the subscription is.
Take or leave your own seat
Copy link to “Take or leave your own seat”As the administrator, you do not need a seat yourself: managing costs nothing. Without a seat, the agreement is closed to you.
- Choose Leave my seat (1) by your own name to free the seat.
- Choose Take a seat in the same place to take a free seat, so you can read again. When no seat is free, you cannot choose it, and No seats available is under the list.
Invite a user
Copy link to “Invite a user”As the organisation’s administrator, you invite colleagues into the organisation’s free seats. The invitation takes a seat straight away, and your colleague gets a mail with a link.
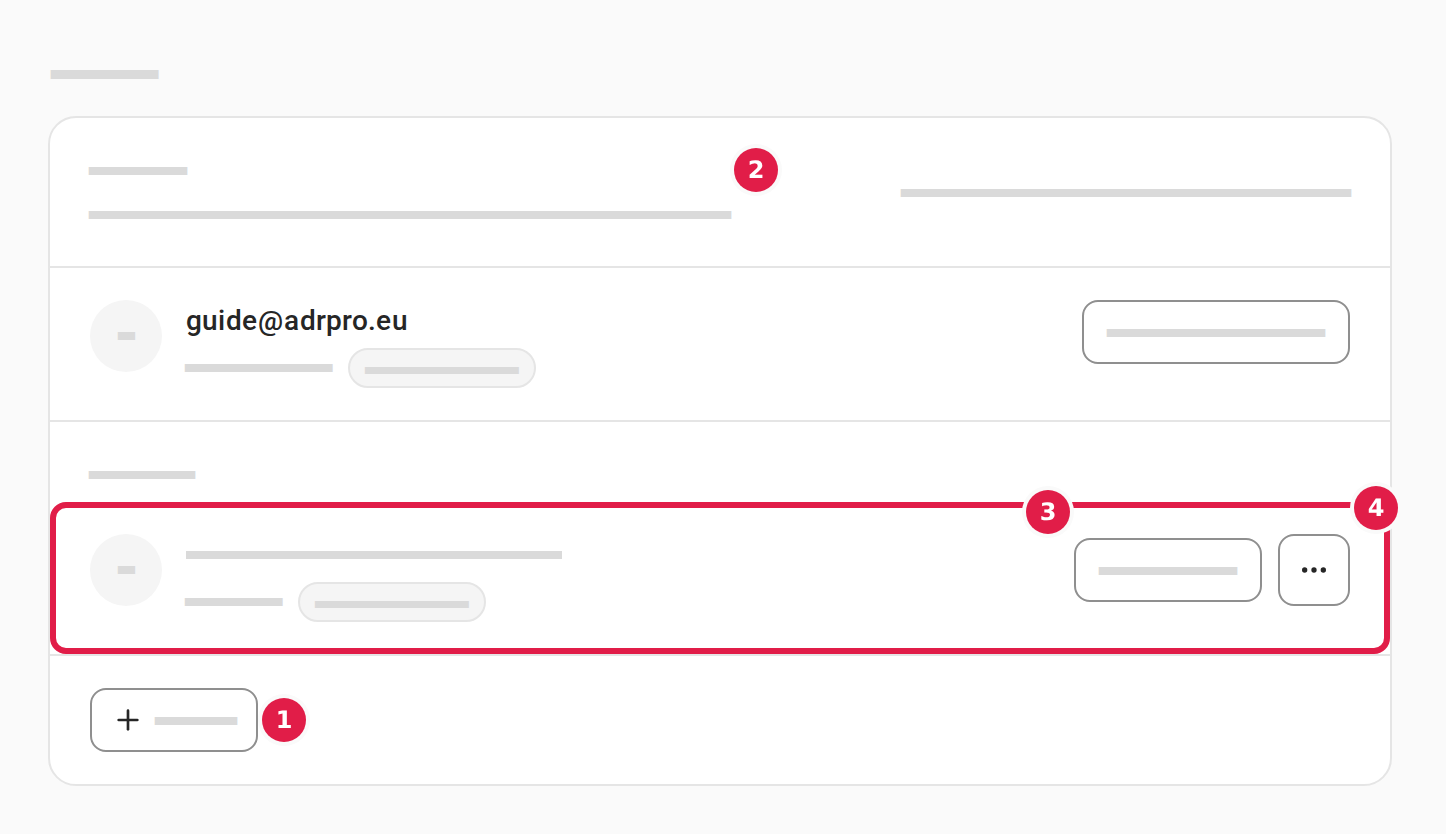
- Choose Invite under the list on the Users page (marker 1 on the picture under Follow the invitation).
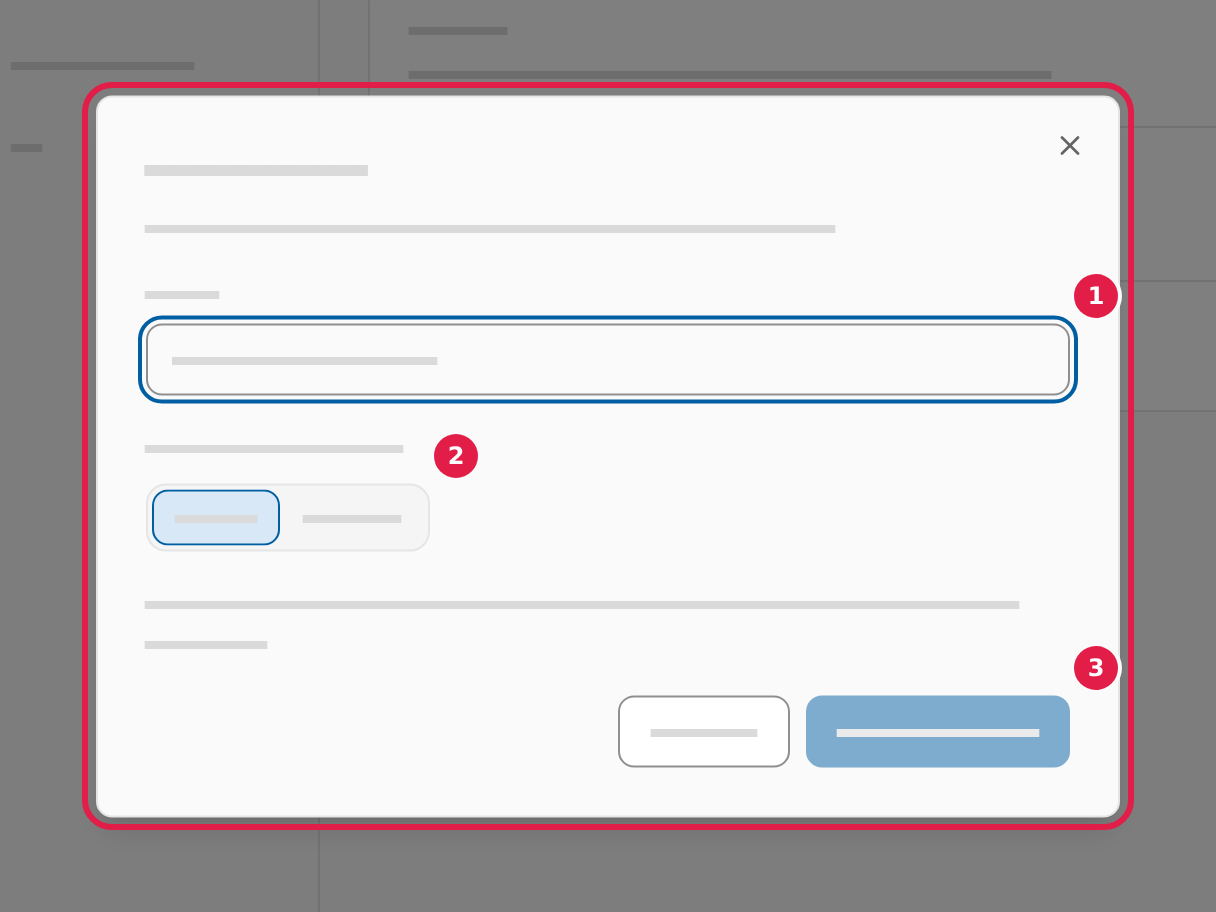
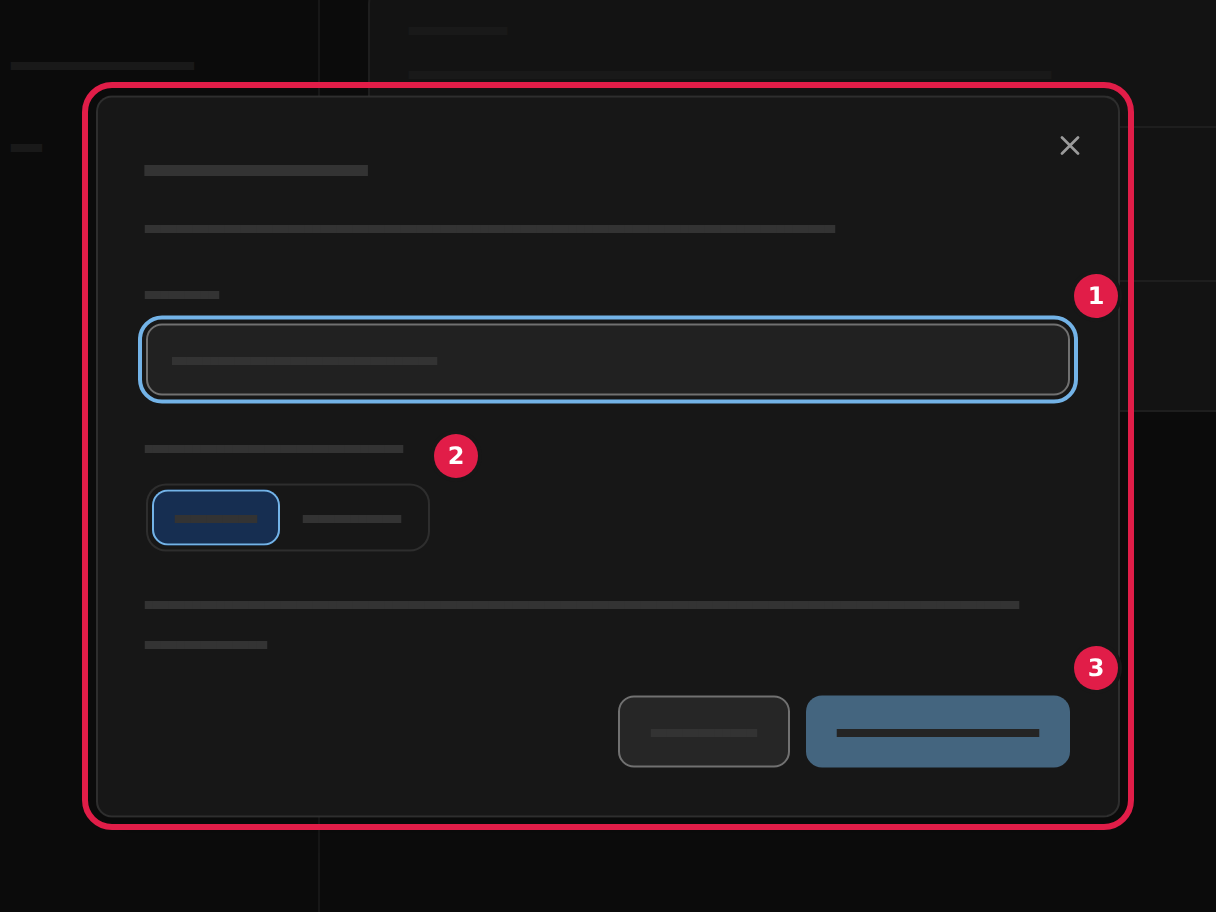
- Type your colleague’s address in the field Email (1).
- Choose the language of the mail at Language of the invitation (2): Dansk or English.
- Choose Send invitation (3). A message says An invitation has been sent to ….
When you cannot choose Invite, the reason is beside it: No seats available when every seat is taken, or Invitations and seat changes need a subscription. when the organisation has no subscription. When it says Invitations and seat changes are not available here., you can neither invite nor change seats right now.
Follow the invitation
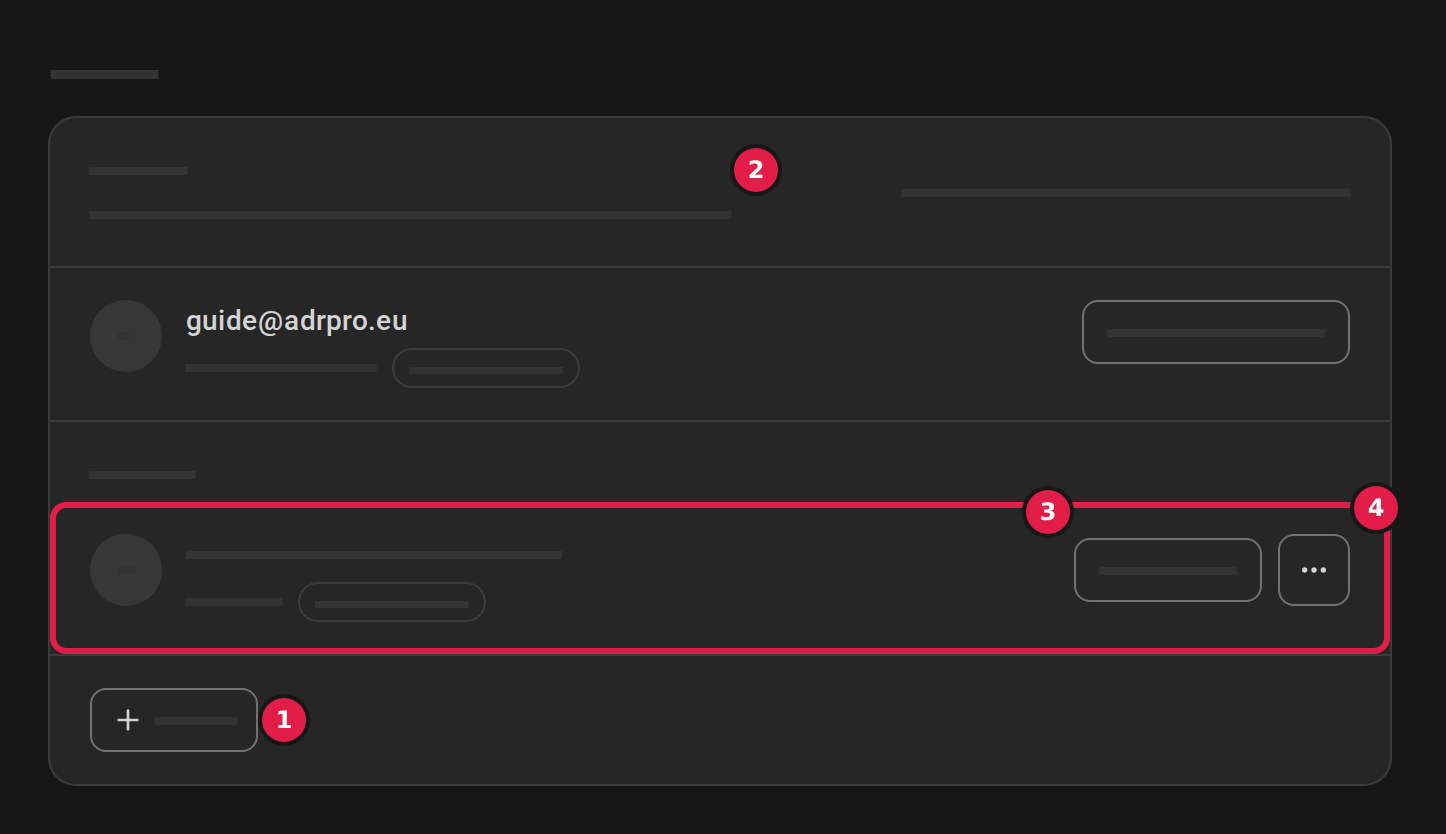
Copy link to “Follow the invitation”- The invitation is under Invited until your colleague accepts it.
- The seat is taken at once: Seats (2) counts it.
- Choose Resend (3) if your colleague has not had the mail. It takes no further seat.
- Choose the three-dot button (4) by the invitation and then Revoke if your colleague is not joining after all. A window asks whether you want to revoke the invitation. Choose Revoke invitation in it. The invitation stops working and the seat is free at once.
To invite one more colleague, choose Invite (1) again.
When your colleague accepts
Copy link to “When your colleague accepts”- Your colleague opens the link in the mail, chooses a password and can read at once.
- Your colleague is now in the list as User with Has a seat. How to change or remove a user is in Change a user’s login address and Remove a user.
Change a user’s login address
Copy link to “Change a user’s login address”-
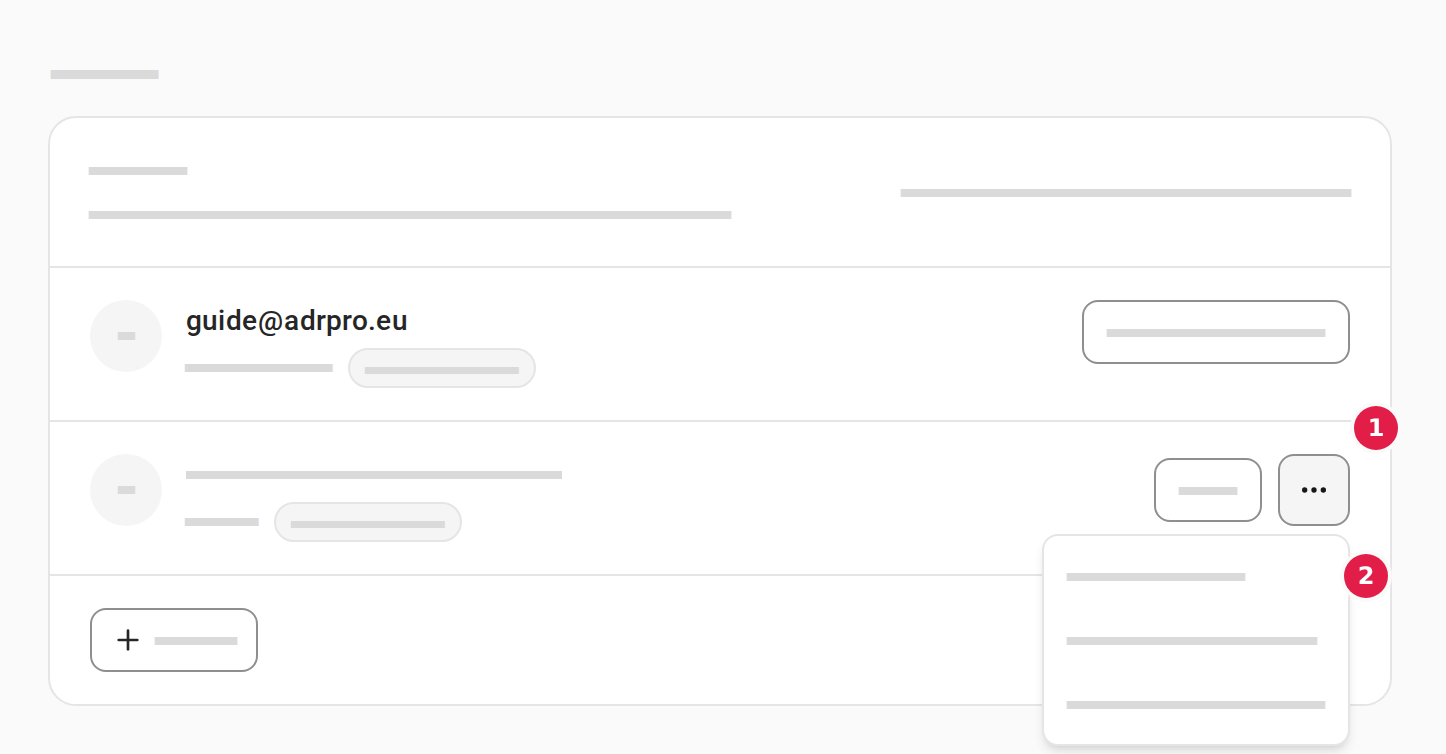
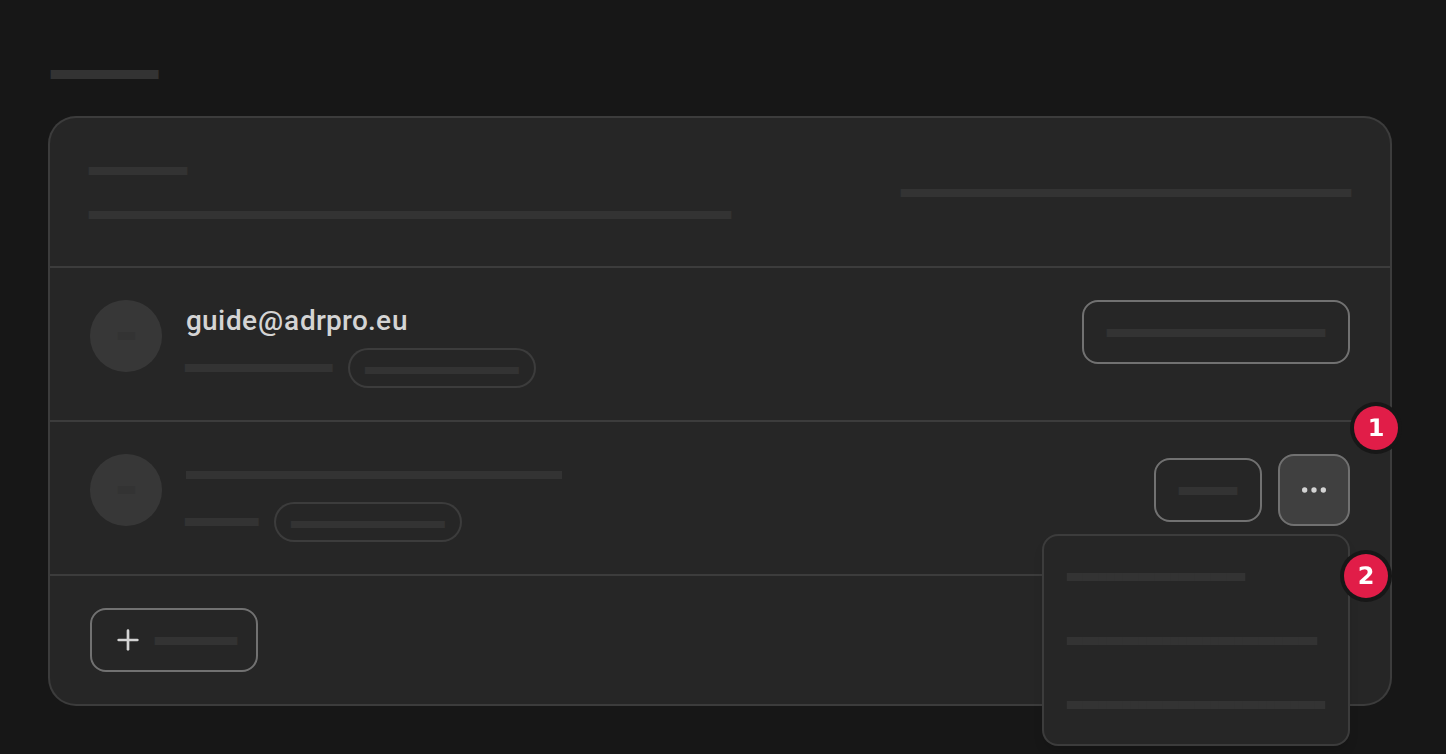
Choose the three-dot button (1) by the user, and choose Change address (2).
-
Type the new address in the field New address, and choose Send confirmation.
-
The user confirms the change from the new address. Until then, it says Waiting for confirmation of …. The user’s account, seat, comments and tabs stay.
Remove a user
Copy link to “Remove a user”You can remove a user at once or at the next renewal.
- At once: Choose Remove (1). A window asks whether you want to remove the user. Choose Remove user in it. The user’s account is deleted, with their comments, tabs and settings, and the seat is free at once. If the user should keep their comments and tabs, first choose Let them keep their comments and tabs, and type the user’s private address in the field Their private address. The account moves to that address, and the user gets a mail to choose a password.
- At the next renewal: Choose the three-dot button (2) by the user and then Mark for removal (3). The user keeps reading and leaves the organisation when the subscription renews. Until then, the user shows Marked for removal at renewal. Choose Unmark in the same menu to undo it.
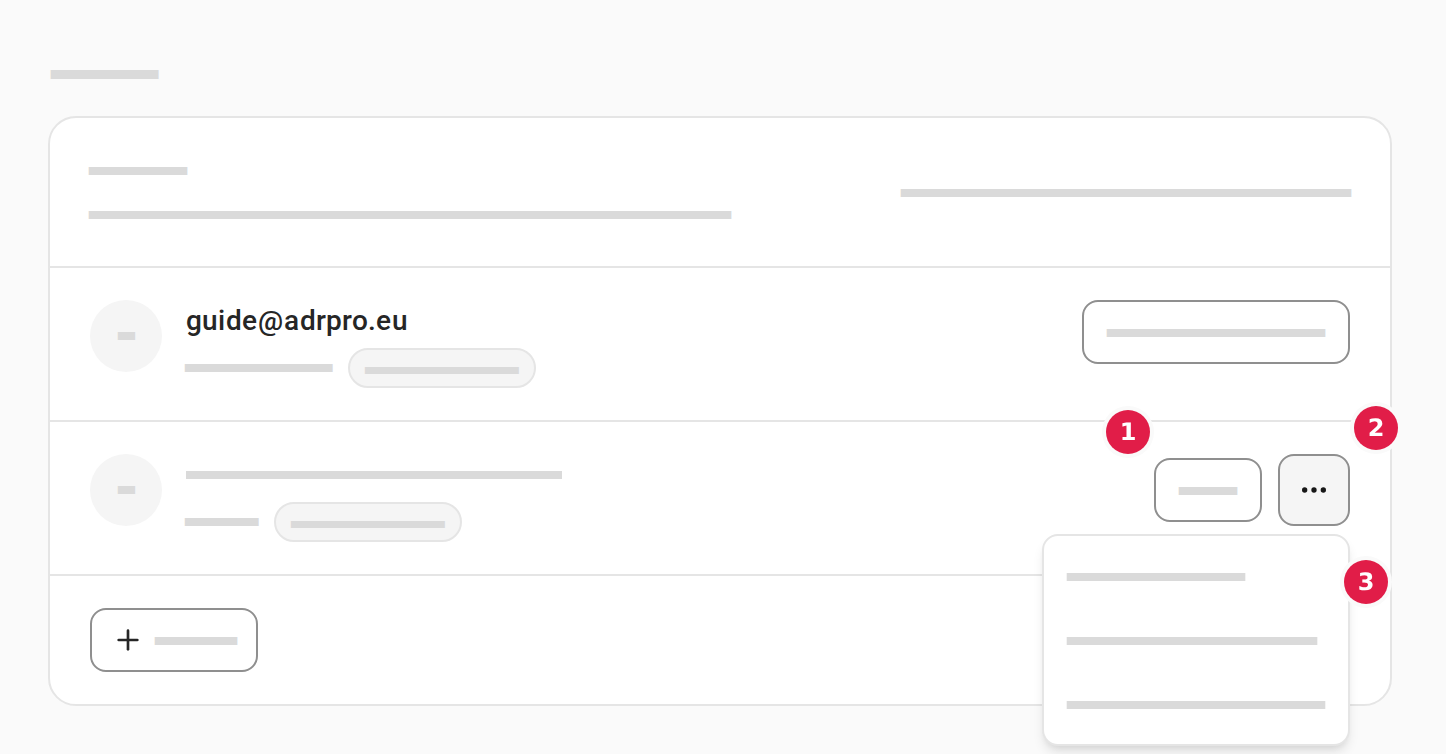
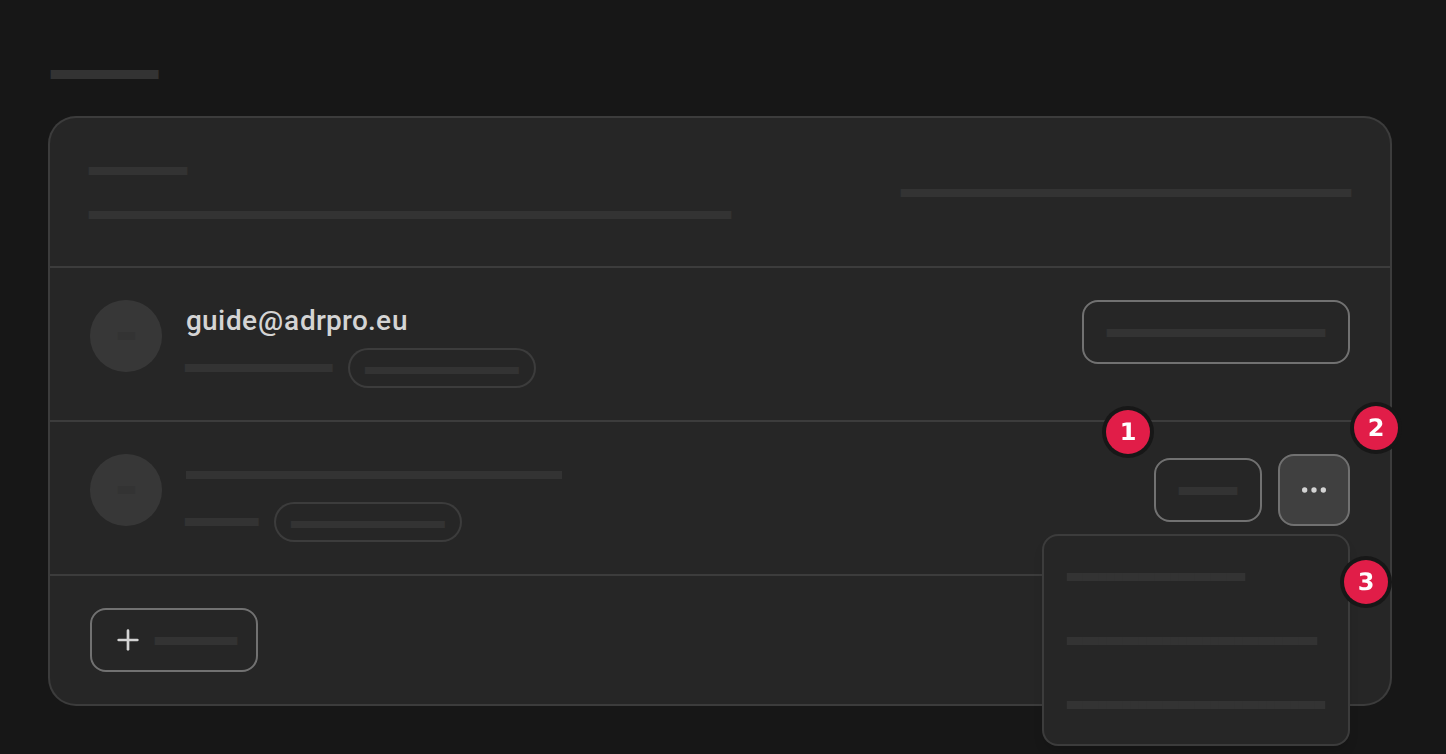
Removing a user at once needs a subscription. How to invite a new user is in Invite a user.
Hand over the administrator role
Copy link to “Hand over the administrator role”You can make a user the organisation’s administrator, for instance when you leave the company. The new administrator gets the subscription, the invoices and the list of users. You stay in the organisation as an ordinary user. The card, the invoice details and the subscription stay with the organisation.
- Choose the three-dot button by the user, and choose Make administrator. Only a user who has accepted the invitation has it.
- A window says what changes. Type your own password in the field Your password, and choose Make administrator.
- A message says … is now the administrator of the organisation. The Users and Billing pages are now the new administrator’s.
You keep your seat. If you held no seat, you take one of the free seats, and when no seat is free, the role cannot be handed over until one is. While the deletion of your account is scheduled, you undo it first.
Once you are an ordinary user, you can delete your own account under Delete account, as described in Delete your account in Your account.
When you read on your own
Copy link to “When you read on your own”When you create an account, you get an organisation of your own, and you are its administrator. ADR Pro is for businesses, so the organisation needs a company name and a VAT number before it can buy. You can give it them in two ways:
- The first time you sign in: Welcome to ADR Pro asks about your company. Type the name in the field Company name and the VAT number in the field VAT number (optional) if you have it at hand, and choose Create organisation. If you want to look around first, choose I’m just browsing for now, and read on in the trial.
- Later: Choose your name or email address at the bottom of the sidebar, choose Settings, and choose Billing. Under Organisation details, type the name in the field Company name (1), the VAT number in the field VAT number and the address the invoices go to in the field E-mail for invoices (2). If you like, you can also fill in a Contact person (optional). Choose Save details (3).
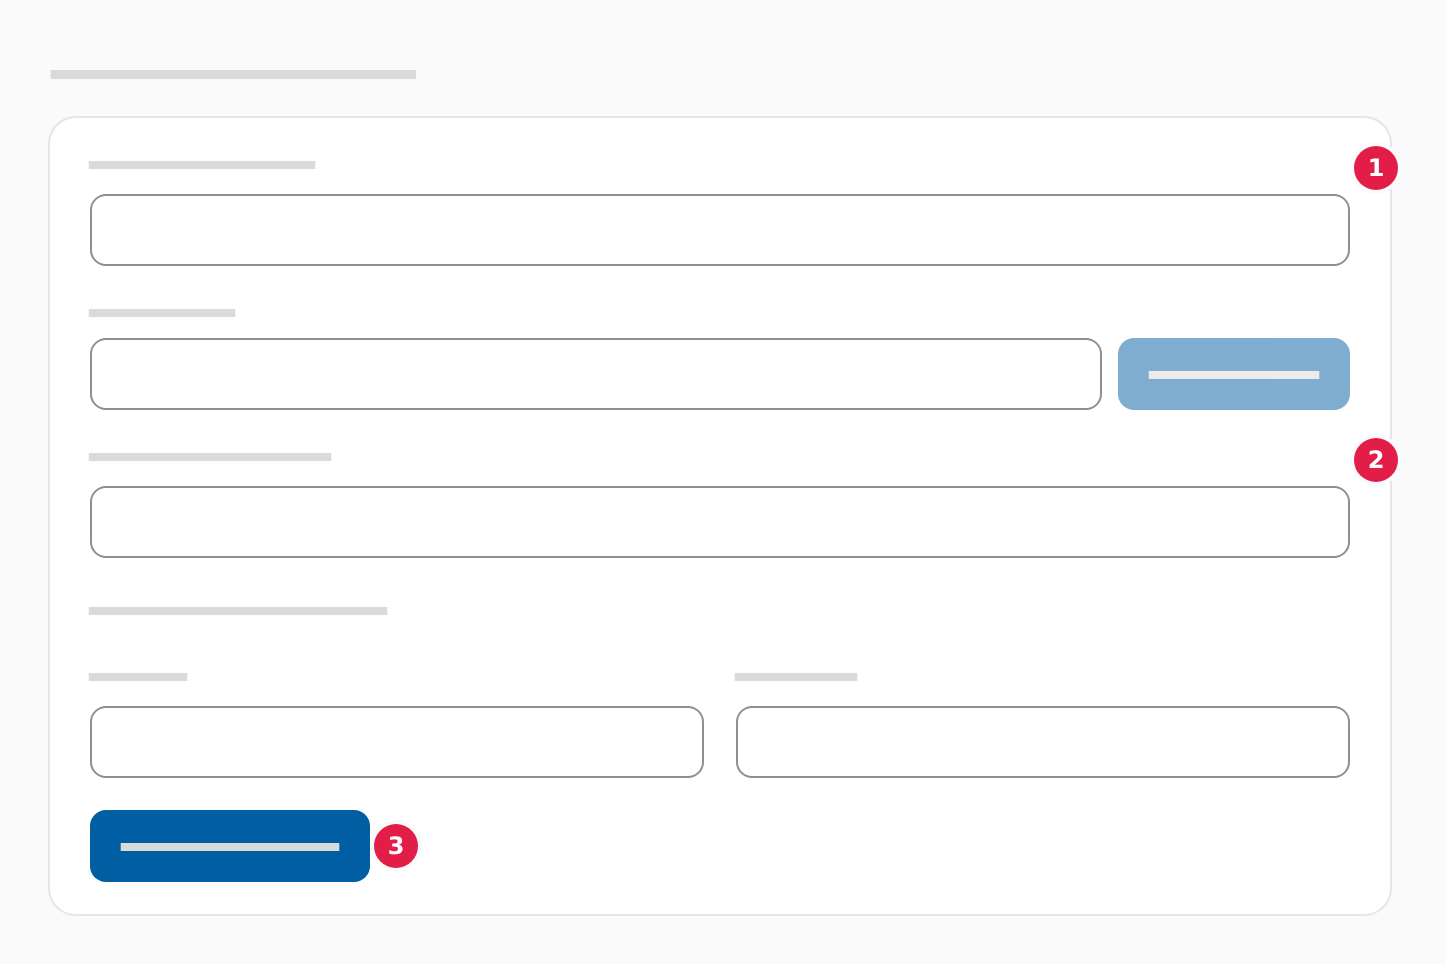
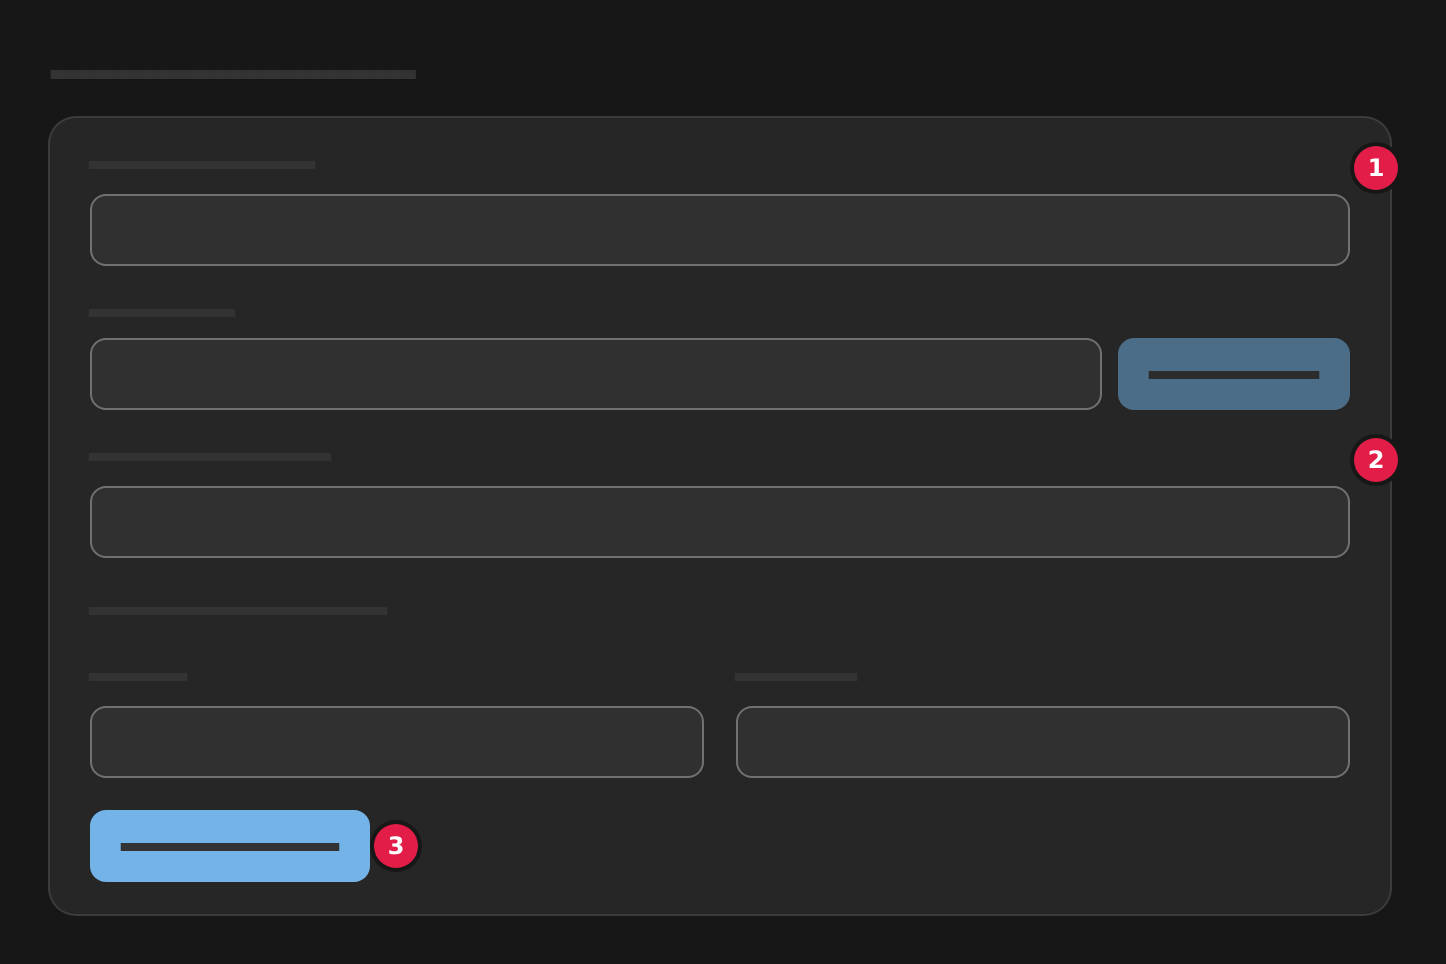
The VAT number can wait, but it must be filled in and verified in the EU’s VAT register before the first purchase: choose Verify CVR by the field. If you change the number, it must be verified again.